Showing posts with label rubber stamps. Show all posts

Wednesday, June 8, 2016

Back to Basics: A Stamper's Toolkit

Last night, I finally caught up with a ton of thank you notes that I have been forgetting to write for some time--that and paying all of the bills and dumping out the nineteen pounds of receipts and napkins I've been carrying around in my diaper bag. I used to be so on top of things like that but with a baby and a new house, things have been left on the back burner far past their boiling point.

Stamps and Ink Basics List
Stamps above: Assemble On the Table Stamp Set, Assemble Mr. Bradley Stemke Polar Bear, Exercising People from Paper Source, Typewriter from Black Ink Boston, Winter Tree, Happy Whale, and Polka Dotted Grid from Impress Rubber Stamps, Date Stamp from Knock Knock, and Calligraphed Return Address from Kathryn Murray Calligraphy
That's no excuse, though, so last night I gathered a few cards and got to work! I always like to do a little something cute or fun on any note that I send. When time is of the essence, I usually end up writing the return address on the back of the envelope, and in the usual area on the front upper left-hand corner, I like to use fun rubber stamp.

Oh my. This opened a can of worms that I wasn't actually prepared for. I use plastic bins for my stamps because they wipe down easily, and by the time I found the rubber stamp that I was looking for, my bin wouldn't even close. Any true crafter has trouble admitting when it's time to throw things away, right? I think I may have about 5 or 6 ink pads that are completely dry that are hanging on for dear life in that bin. Sorting that bin out is most definitely a project for another day, but we thought up a quick list for those of you who are in the mood to get back to basics when it comes to rubber stamping crafts. See below to create (or pare down) your stamper's toolkit.

Your favorite wood, rubber, or acrylic stamps
• Ink pads: dye or pigment (our favorites are Hero Arts and Colorbox)
• Baby wipes
• Fabric or paper
• Test sheets to blot on
• Washi tape for masking
• An iron, if you will be heat setting
• A heat tool, to dry ink
• Embossing powder
• A lino block, pencil, precision knife and speedball cutter if you will be creating your own stamp
• A solid surface and/or cutting mat for stability

What else do you keep in your kit? 

Thursday, November 21, 2013

Make This // Gift That with Papernstitch + Send Us Your Projects!

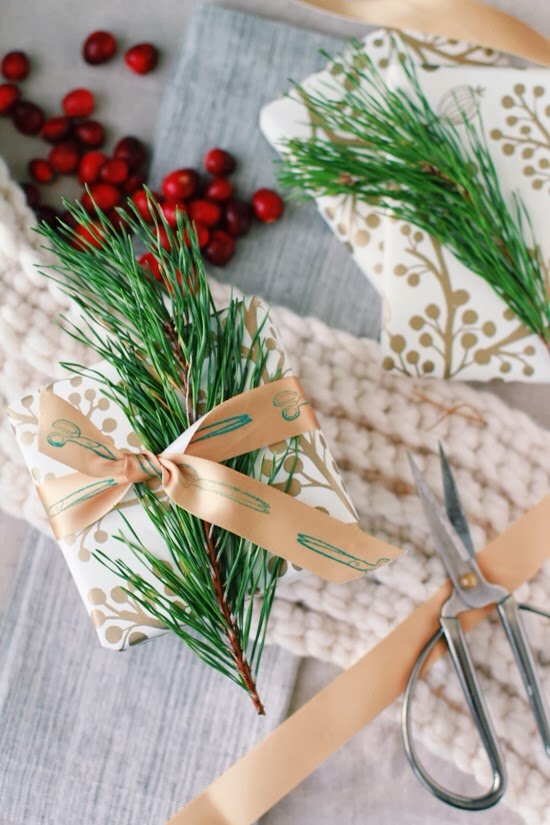
Check it out! Brittni Mehlhoff of Papernstitch wrote a great post with tutorial on using our Crafting Studio Rubber Stamp Set to wrap special gifts this holiday season. We love the adorable stamped ribbon!


We have seen so many ways that you guys have been creative with our rubber stamps--please share your lovely projects with us! If we get enough, we'll do a special post with photos and links of all of your projects. Email us at info [at] assembleshop.com with subject heading "Rubber Stamp Project."

Thank you so much, Brittni! Oh so cute--for more on this project (and more beautiful photos), head over to Papernstitch.

Photos courtesy Papernstitch.

Wednesday, November 6, 2013

Assemble Shop & Studio + Drygoods Design Stamp + Tea

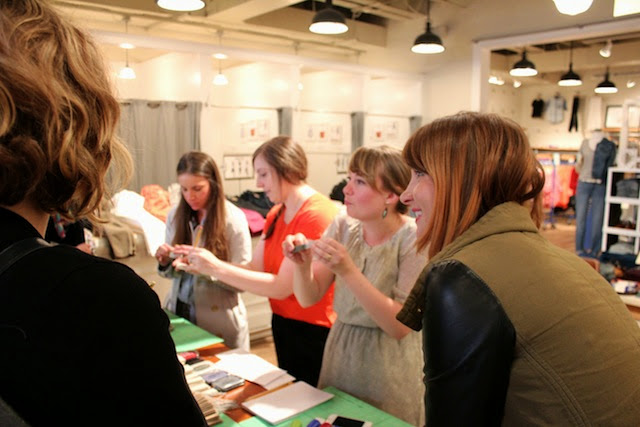
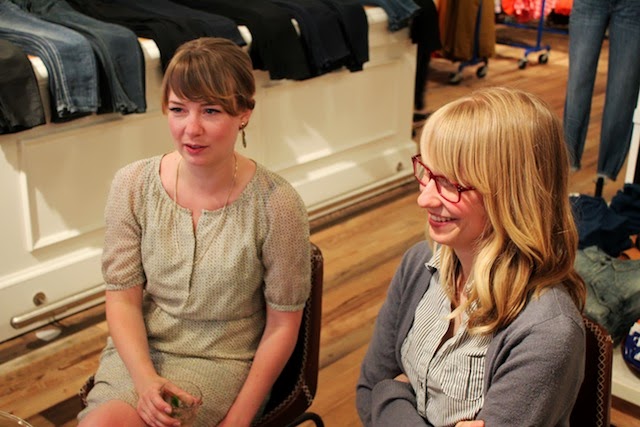
We had our Kickstarter Backer Stamp + Tea! It was so fun--cupcakes, rubber stamps and delicious hot tea, perfect for a Fall day. We made mini stab-bound booklets and stampy patterned covers. A special thanks to Drygoods Design for donating their space to our cause. We love you, Drygoods! If you're in need of some fabulous fabric or stitching accoutrement, make sure to drop by their shop! Enjoy the photos!


Tuesday, October 29, 2013

Assemble Rubber Stamp Project #2: DIY Wrapping Paper

It's been a bit since our Assemble Rubber Stamp Project #1, and with the holidays coming, we thought we'd do a quick tutorial on DIY wrapping paper with our dashing polar bear stamp. We wrapped this package with DIY wrapping paper made from regular old printer office paper, junk mail (yes!) and our stamp.


To create this package, you will need:
• blank sheets of paper (we used office paper and a Tiffany & Co. envelope)
a stamp
• ink pad
• your box!
• double-sided tape
• scissors
• baker's twine or ribbon


Stamp your image onto the paper in whatever design you prefer. I stamped this paper a few days before hand because the coating on the printer paper was a bit slick, and the ink needed to dry.


If you need to seam pieces of paper together to be big enough to fit your box, flip the page over and place double-sided tape as close to the edge as possible.


Connect with the other sheet, and remember to use this "seam" as one of the box's corners (see photo below).


Fold your page over, find the edge of the box and either cut or fold your paper to size. Place double sided tape to the very edge of that fold or cut and tape to the other side of the paper (which should be folded in underneath).


Push the end flap down and create a seam. Fold the side flaps into perfect triangles and place double-sided tape to the edges of these folds (see pic below, you can just make out the tape).


Tape the two side folds in and secure. Place double-sided tape along the triangular edges of the last flap, and fold in toward the center. Secure in place. Repeat these steps on the other side.


To create your gift tag, stamp on a different colored cardstock and cut close in a rectangular shape. Tie baker's twine around the package and slip the card under the top bow. Done and done! A perfect package for pennies.


Tuesday, October 22, 2013

Let's Get This Tea Party Going, Guys!

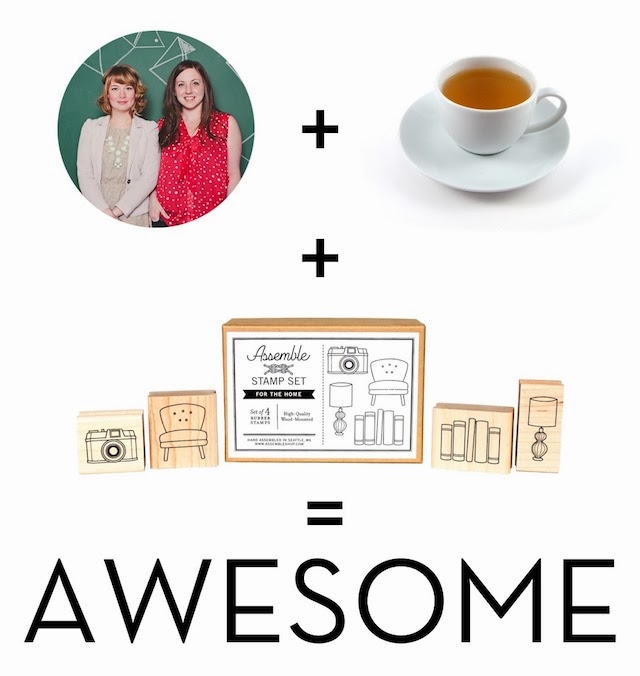
We've had some RSVPs to our awesome Stamp + Tea Party--but we need more signups to make this party awesome. Click the image below for more info:


Tuesday, October 15, 2013

You're Invited...

...to our Stamp + Tea Party! We will be holding a party in honor of our amazing high-backing Kickstarter helpers on Sunday, November 3rd at Drygoods Design. However, we wanted the party to be even more fun--so we're opening it up to ticket sales!

One ticket buys you a place at our Stamp + Tea Party, your own brand, new Assemble Rubber Stamp Set, tea + treats, plus a Stamping Technique lesson! We are so excited and are super thankful to Drygoods Design for offering up their amazing Make.Do.Mend space for us.

Grab your ticket soon (we're only offering a small amount) at Brown Paper Tickets! We hope to see you there! -Andie & Emily

Wednesday, August 28, 2013

Assemble Rubber Stamp Project #1: Make a Scene!

Got your stamps in the mail and not sure what to do with them? We are starting a mini-series of fun projects to make with our Assemble Rubber Stamp Sets! It's a lot of fun playing around with these after working so hard on them! If you haven't gotten your favorite set yet, head over to our shop to grab yourself some before they are sold out.

This little project involved cut paper, colored pencils, a black ink pad and stamps! Make cards, little scenes, dioramas, kids' projects (although I had fun making these and I don't even have kids!), etc. Have fun!

rubber stamping diorama scene or card project

rubber stamping diorama scene or card project

rubber stamping diorama scene or card project

rubber stamping diorama scene or card project

rubber stamping diorama scene or card project

Wednesday, August 7, 2013

Guess What? The Stamp Sets Are Stocked!

handmade crafting rubber stamps by assemble shop and studio in seattle washington

We finally have completed our Kickstarter project (with rewards shipping out at the end of this week--we're just waiting for boxes!) That means that the Assemble stamps are now available for purchase on our website! We're offering a grand opening awesome discount for TODAY ONLY in honor of our online rubber stamp release. Use coupon code STAMPITUP at checkout to receive $5 off any of our brand new stamp sets. Don't forget your ink pads! And don't forget this little guy too! Our limited edition Polar Bear stamp with artwork by Karl Addison is ONLY available on our website--we're not wholesaling this little guy to any shops. Grab him up too!

handmade crafting polar bear rubber stamp by assemble shop and studio in seattle washington

And, if you backed our Kickstarter and haven't given us your address info yet, get it to us fast! Andie & Emily

Friday, August 2, 2013

New Seattle Stockist: Stitches

We're happy to announce that our Crochet Kits, Needle-Felting Kits and Stamp Sets are now available at Stitches in Seattle! If you want to see our product in person before buying--head on out to Capitol Hill to check them out. The Needle-Felting Kits are also available at Schmancy in Belltown! Yay for small businesses!

assemble kits at Stitches in Seattle


Friday, July 12, 2013

THIS WEEKEND: Urban Craft Uprising

It's here! We will be debuting our brand new stamp sets at the Urban Craft Uprising, this weekend! Be sure to come out and see us. And don't worry, if you already have one coming to you for Kickstarter, those will be going out at the end of next week along with a pack of other fun goodies. Get the details for UCU here.


Image via UCU

Tuesday, July 9, 2013

Blogging Break for UCU

We're taking a tiny, little blogging break this week to focus on our products for the upcoming Urban Craft Uprising, which is THIS weekend. Come meet us there and see all of our new goodies. It's only a $1 donation, and there are oodles of awesome vendors and designers there to see. This weekend, Saturday and Sunday at the Seattle Center. Be there!! In the meantime, here's a sneak peek of what we've been working on:

rubber stamp sets assemble

And if you're waiting on your Kickstarter reward, those are almost ready too! We're going to be getting those in the mail by the end of the month. See you there!!

Photos via our Instagram

Tuesday, May 28, 2013

An Evening with Madewell

Hanging out with Madewell on Thursday for our Assemble + Madewell = BFF party, was one of the most fun nights in Assemble history, and we're so happy that so many of you came out to make stamps with us! The stamps were a hit, with stripey shirt, chevron or arrow template options! We made cute little gift tags for tying on sweet Madewell gifties. Mint-citrusy punch, tiny donuts and oh-so-much-shopping was had. If you didn't get a chance to stop by and see us, here's a sampling of photos below to enjoy. Thank you, Madewell and Assemblers!!

assemble and madewell crafting and shopping night make your own stamps
Some snaps from our Instagram

assemble and madewell crafting and shopping night make your own stamps

Photos by Christian Powers
Blogging tips