Showing posts with label crafty projects. Show all posts
Wednesday, July 23, 2014
Crafty Project: Happy Cloud Felt Wall Mobile
I asked my husband what I should all this mobile project post, and he answered, "Cloudy with a Chance of Baby." Perfect! We've got a little one on the way this December, and after finding (and buying!) a few mobiles, I was never satisfied with any of them. Those awesome geometric mobiles? Yeah, they don't stay together. And even the cutest over-the-crib mobiles seem like they will get in the way with such a small crib. (We're using a mini). So, I went ahead and decided to make a wall mobile myself! See below for instructions for your own Happy Cloud Felt Wall Mobile.
You will need:
• about 1/3 yard of felt for your cloud
• several smaller sheets of felt in whatever colors you'd like for your droplets--one per color (don't forget to include black for your cloud's face)
• invisible thread or fishing line
• poly-fil or stuffing material
• scissors
• a needle
• pins
• a sewing machine
Cut out your cloud shape, depending on the size of the wall space you'll be hanging. Mine is roughly 21"wide x 14" high.
Cut out your little face for your cloud. I went with simple happy, but we had a lot of fun testing all sorts of smiley/frowny shapes.
Pin the face where you'd like it to stay, then stitch on your sewing machine or by hand with black thread to keep in place.
After your face is completely stitched, pin the cloud onto another piece of the same color felt. This will be the back of your fluffy cloud. Stitch carefully around all of the curves of the cloud with your sewing machine. Remember to leave enough space unstitched to fill the cloud with stuffing.
After sewing your cloud to it's backing (and left it's stuffing hole), cut completely flush around the cloud's curves for an even finish. Tip: around the stuffing hole, I like to leave a little extra for stitching, just in case the stuffing affects the amount you have to work with.
Stuff your cloud using poly-fil or a similar stuffing material. Don't over-fill your cloud. You'll want this to be a loose stuffing.
To make your droplets, create a template that you can use on each color to cut around. Mine was roughly 2" x 4". Cut each felt sheet in half. Place one half to the side for the backing of the droplet. I got about 5-6 droplets out of each half sheet.
Finish cutting all of your droplets. You will most likely have a lot more than you will use on your mobile, but it's always best to be prepared, especially if you want a very rainy cloud!
Pin all of your droplet's to the other half of the felted sheet that you set aside. Around 5-6 should fit comfortably with enough space for stitching.
Using the sewing machine, stitch all the way around each of the droplets. You can also use this time to stuff them with poly-fil if you'd like a puffier droplet, but I simply sewed them to a backing to add depth.
After sewing all of your droplets, cut flush around the edges of each droplet.
To tie your droplets together, cut a long piece of invisible thread, and knot the end. Thread this length into a needle and stitch into the pointy tip of a droplet. Pull the thread all the way out until the knot catches. Tie a knot at the top of that droplet to keep in place. Then with the same thread, thread a new droplet tip, and pull the thread all the way through until you are satisfied with the space between the droplets. Knot the thread at the tip to keep the second droplet in place. Continue this process until you have about four droplets on each thread (or however many you'd like). Then, stitch the end of the threaded/knotted droplets through the bottom of the cloud and tie a knot. Cut off any excess.
Repeat this process until you are satisfied with the amount of droplet strings you have hanging from your cloud.
To hang, simply thread a piece of invisible thread several times through the top point of the cloud and tie to a nail or hook next to the crib or changing table. Make sure it's tied super tight (I even put some tape on the thread over the hook). You don't want it falling onto your baby!
And there you have it! Enjoy!
Monday, March 3, 2014
Crafty Project: Linoleum Block-Printed Geometric Onesie
The babies are coming--so many babies! Last week, we were given a few onesies that we were to decorate for a friend's brand new baby! He was coming soon (about two days after the shower!) so we needed a quick decor option and not a lot of fuss: linoleum blocks it is! We did a full tutorial on linoleum block printing last year, so definitely refer to those instructions if you are starting from scratch.
You will need:
• a linoleum block
• several onesies (in case you mess up)
• an ink brayer
• fabric ink (I used my old gocco fabric ink)
• a surface to pull ink--I used an acrylic sheet
• a pencil
• linoleum cutter
• not pictured--an iron and several sheets of paper to iron over
First, draw your design onto your linoleum block. It doesn't matter if you mess up (see my weird floating triangle in there?) the cutting is what really matters.
When you have your design exactly how you want it, use a "small V" cutting attachment to go around your design lines. Once you've cut your lines, use a larger "U" to dig out the areas that you do not want to stamp. I even used the knife portion of the cutting tool to remove full areas that I did not need, which is up to you!
After you are finished carving your stamp, pull some of the ink with the brayer until it is evenly spread onto the roller. Lightly roll over your stamp (or if you are using an ink pad, pat the stamp against the pad) in order to see any mistakes you might need to remove on the stamp.
After you're finished making sure your stamp is cut perfectly, stamp a few times on a sheet of paper or a loose piece of fabric to test. If the impression is to your liking, prepare your onesie by placing a thick piece of card stock or an acrylic sheet (as shown here) inside the onesie to protect the back from getting ink on it.
When you're ready to stamp, pull a thin layer of ink over your stamp and press it to your surface. Create your design and allow the fabric to dry. Once the impressions are dry, remove your acrylic sheet (if you used paper, you may leave it in there), and cover the design with a sheet of paper. Iron on high heat for about one minute to set the design.
Now you're all finished! Wrap that gift up (a onesie with a funsie for big sis) with some baker's twine and you're all set! Thanks to Madi and Sarah for the onesies and lovely shower to Jaqui (and baby Enzo).
You will need:
• a linoleum block
• several onesies (in case you mess up)
• an ink brayer
• fabric ink (I used my old gocco fabric ink)
• a surface to pull ink--I used an acrylic sheet
• a pencil
• linoleum cutter
• not pictured--an iron and several sheets of paper to iron over
First, draw your design onto your linoleum block. It doesn't matter if you mess up (see my weird floating triangle in there?) the cutting is what really matters.
When you have your design exactly how you want it, use a "small V" cutting attachment to go around your design lines. Once you've cut your lines, use a larger "U" to dig out the areas that you do not want to stamp. I even used the knife portion of the cutting tool to remove full areas that I did not need, which is up to you!
After you are finished carving your stamp, pull some of the ink with the brayer until it is evenly spread onto the roller. Lightly roll over your stamp (or if you are using an ink pad, pat the stamp against the pad) in order to see any mistakes you might need to remove on the stamp.
After you're finished making sure your stamp is cut perfectly, stamp a few times on a sheet of paper or a loose piece of fabric to test. If the impression is to your liking, prepare your onesie by placing a thick piece of card stock or an acrylic sheet (as shown here) inside the onesie to protect the back from getting ink on it.
(I also taped the sleeves and sides to the table in order to avoid any wrinkling.)
When you're ready to stamp, pull a thin layer of ink over your stamp and press it to your surface. Create your design and allow the fabric to dry. Once the impressions are dry, remove your acrylic sheet (if you used paper, you may leave it in there), and cover the design with a sheet of paper. Iron on high heat for about one minute to set the design.
Now you're all finished! Wrap that gift up (a onesie with a funsie for big sis) with some baker's twine and you're all set! Thanks to Madi and Sarah for the onesies and lovely shower to Jaqui (and baby Enzo).
Thursday, December 12, 2013
Crafty Project: Painted Holiday Globe Ornaments
I have to say that my tree is usually a bit less traditional than most. I love fake white trees, twinkly white lights and a non-traditional color scheme. That being said, I can never find glass, globe ornaments that I like because they are usually silver, gold, blue, red or green. And those colors are great--but sometimes, you just want to mix it up. So, we decided to do a fun (and very easy!) project for creating your own Christmas bulb ornaments in any color. Super inexpensive, quick and easy enough to do during a free hour. Weee!
You will need:
• A package of inexpensive, plain glass bulb ornaments
• Acrylic craft paint in colors of your choice
• Dixie cups or several cut bottoms of old plastic bottles (for draining), small enough to hold the bulb
• A small amount of water if your paint is very thick
• Paper towels
First thing's first: pop off the top of your ornament and place to the side. (You won't want to lose those!) Then, squirt a small amount of the paint of your choice into the bulb and proceed to roll it back and forth in your hand to cover the glass. You can always add more paint.
After coating the entire inside of the bulb, place it in your dixie cup or half-bottle container and allow the excess paint to drip out. I let these sit for about 6-8 hours. After they sit in the drip containers for a while, remove the ornaments and set them securely on a paper towel to continue drying. I would recommend overnight, if not longer.
Another fun thing to try is mixing colors. If you want a more brushed look, fill the ornament with both colors of paint at the same time, leaving each enough room to drip out. If you want a more modern, color-blocked look, wait for one color to dry, then add the other color. I used the aqua and gray brushed texture. Fun!
After the paint is dry, pop the metal top back on the ornaments and then insert the metal hook rungs. You always want to place the metal top on before inserting the hook, because the metal pieces rungs can scratch the paint on the inside of the ornament. And there you have it! Hang them on your tree or give them away as gifts!
Wednesday, November 27, 2013
Gobble, Gobble: Thanksgiving is Here!
Thanksgiving is TOMORROW and we're here rounding up our very favorite Thanksgiving projects from crafty friends from around the web. We love Thanksgiving! It's the perfect time for hostessing projects, fun interaction with kids and gearing up for the December holidays. Take a look at our favorite projects below, starting with last year's Make Your Own Felt Turkey Dinner (perfect for vegetarians!) Check it out here for pattern and instructions.
Plus, here are some of our favorite projects, recipes and treats for this Thanksgiving! Start in the top left corner, and make your way clockwise for some Turkey Day fun:
1. Some of the best Clean Green Bean Casserole (vegan + paleo) that I've ever had, from Detoxinista. We made this a few nights ago as a test, and it's fabulous! Bless that nutritional yeast.
2. Make one of our favorite projects! Fun little Felted Acorns for a sweet tablescape or fun afternoon craft project.
3. Delicious-looking Swedish Cinnamon Rolls from Have a Yummy Day. The photo itself might kill me.
4. Free Thanksgiving printables for gift tags and notecards from She Wears Many Hats. So cute!!
5. We can never get enough gold--glitter up your table with this idea from A Pumpkin and a Princess.
6. More awesome printables! Animal cup cozy patterns by A Subtle Revelry. Gobble!
Have a great Thanksgiving, folks!
Images as linked above.
Plus, here are some of our favorite projects, recipes and treats for this Thanksgiving! Start in the top left corner, and make your way clockwise for some Turkey Day fun:
1. Some of the best Clean Green Bean Casserole (vegan + paleo) that I've ever had, from Detoxinista. We made this a few nights ago as a test, and it's fabulous! Bless that nutritional yeast.
2. Make one of our favorite projects! Fun little Felted Acorns for a sweet tablescape or fun afternoon craft project.
3. Delicious-looking Swedish Cinnamon Rolls from Have a Yummy Day. The photo itself might kill me.
4. Free Thanksgiving printables for gift tags and notecards from She Wears Many Hats. So cute!!
5. We can never get enough gold--glitter up your table with this idea from A Pumpkin and a Princess.
6. More awesome printables! Animal cup cozy patterns by A Subtle Revelry. Gobble!
Have a great Thanksgiving, folks!
Images as linked above.
Tuesday, October 8, 2013
Crafty Project: White Bean Lokta Tea Tin
Yes, we have been really crummy about updating this blog--but not for lack of ideas and love! Assemble is working on some great new projects that we will hopefully be able to announce soon. In the meantime, we are only posting to this blog when we have something lovely that comes from the heart. Here's one today! We are part of the Republic of Tea's mailing list, which means we get a loose tea bag in our catalog every month. They are amazing! However--there's nowhere to put them. So, I decided to use an old Trader Joes tea tin and make a new, special spot just for the loose bags. Enjoy!
For this project, you will need:
• An old tea tin that you would like to cover
• Decorative paper. I used White Bean Lokta from Paper Source. See the Orange Bean version in our hardcover bookbinding kit! Now available on Etsy.
• A straight-edged ruler.
• A pen knife.
• Binder's glue or mod podge--I used PVA.
• A glue or sponge brush.
• A cutting mat.
First, measure the sides of your tin and transfer the measurements onto the paper. You can either use a pencil to draw a line to cut or just use the pen knife and straight edge. Make sure that you like the design on the reverse side of the paper. If you have a large pattern like mine, make sure that it is aligned as you wish.
Cut your paper and line it up with the edges of the tea tin. Make sure that it fits inside of the tin's ridges.
Spread a small amount of your glue on the sides of the tin and press the paper evenly to remove any air bubbles. If your paper gets too wet, it can bubble, so only use a conservative amount.
Continue all the way around the tin. My lokta has a rough edge that is difficult to see after gluing, so I did not trim to the corners. If you want a perfect look, make sure to trim the paper as it reaches the last corner of the tin.
Measure your lid, and cut a square according to your measurements. You may have to trim the excess, but cut a large enough piece to cover the entire lid. Position the lid on top of the backside of the paper and cut small slits where the corners come to a point. These will help you wrap the lid nicely.
Spread a thin layer of glue on your lid and position it. Then, fold the corners in on the sides and glue the remaining pieces. Voila! All done! A tea tin for those rogue tea bags. Have a cuppa for us!
Wednesday, September 18, 2013
Wednesday, August 28, 2013
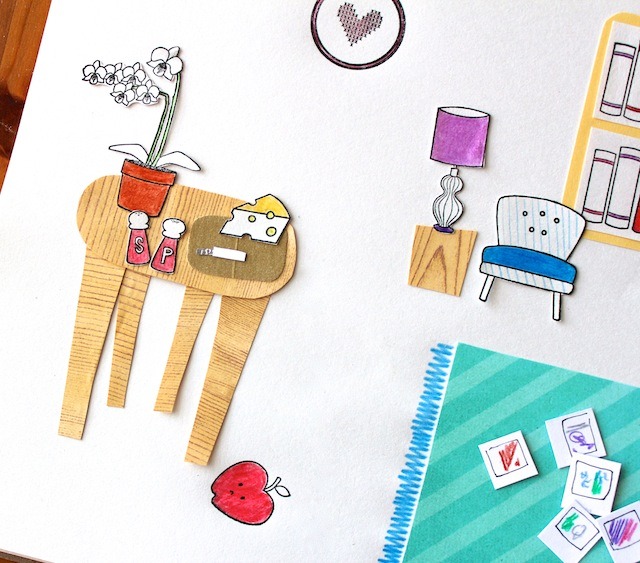
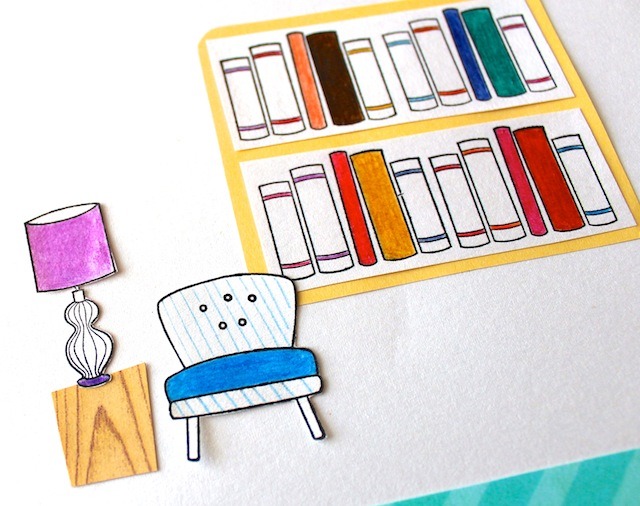
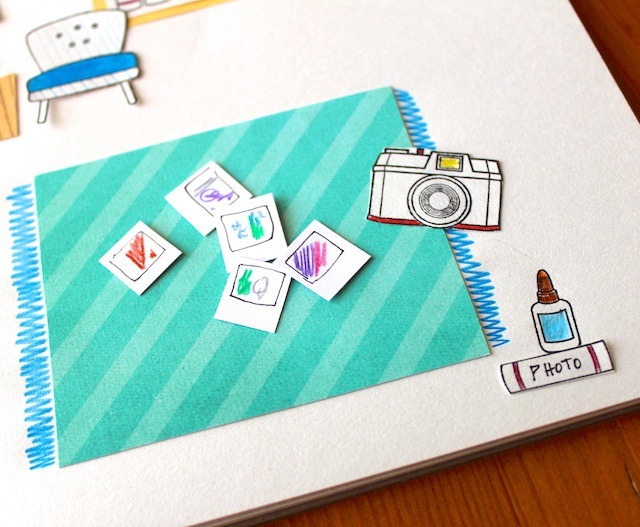
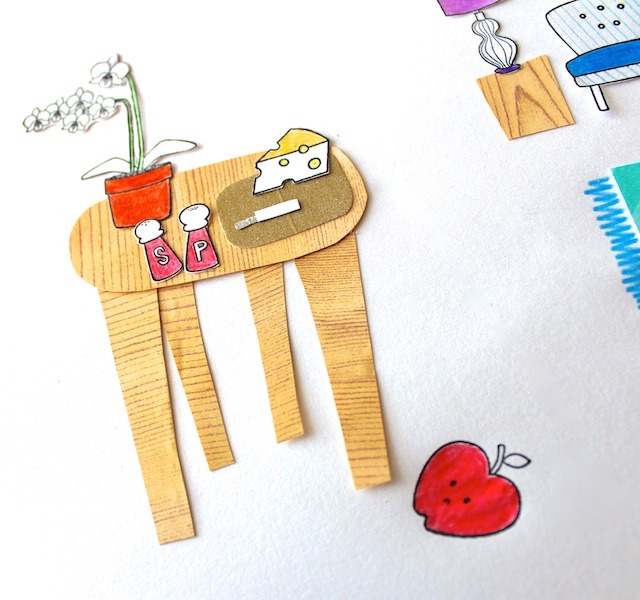
Assemble Rubber Stamp Project #1: Make a Scene!
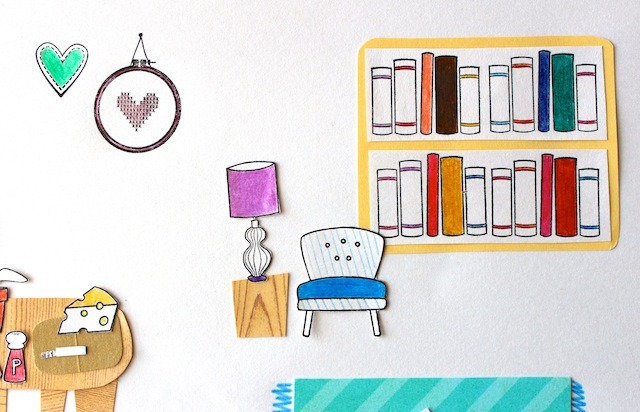
Got your stamps in the mail and not sure what to do with them? We are starting a mini-series of fun projects to make with our Assemble Rubber Stamp Sets! It's a lot of fun playing around with these after working so hard on them! If you haven't gotten your favorite set yet, head over to our shop to grab yourself some before they are sold out.
This little project involved cut paper, colored pencils, a black ink pad and stamps! Make cards, little scenes, dioramas, kids' projects (although I had fun making these and I don't even have kids!), etc. Have fun!


This little project involved cut paper, colored pencils, a black ink pad and stamps! Make cards, little scenes, dioramas, kids' projects (although I had fun making these and I don't even have kids!), etc. Have fun!


Subscribe to:
Posts (Atom)