We did our first
Favorite Friends post about Kathryn Murray, but since it was our first, we weren't quite sure what we were doing! Now that we've got our format down, we wanted to give Kathryn her just due!
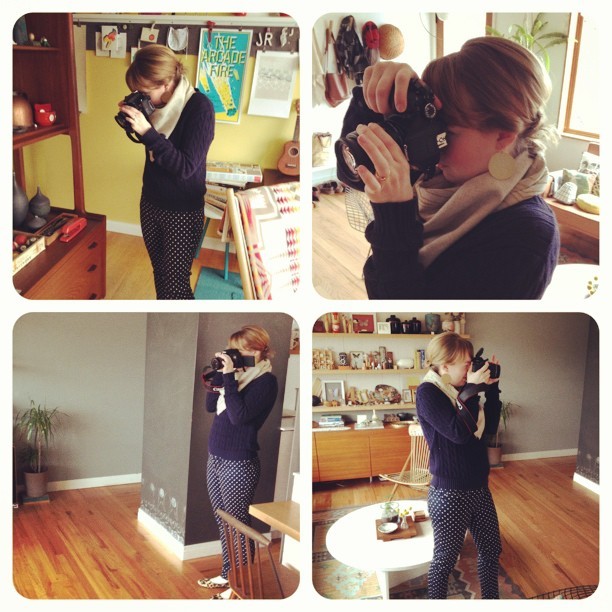
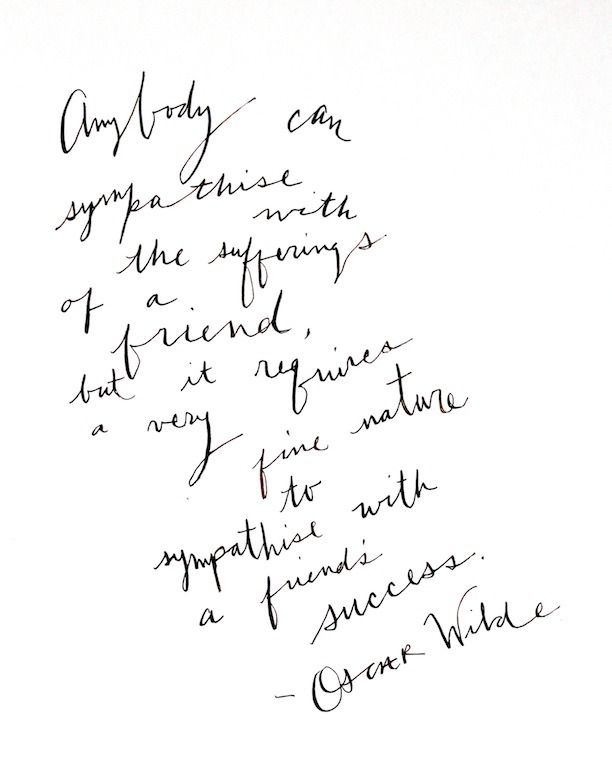
Kathryn Murray is one of our favorite people. I personally have known her for about eight years, having met in Los Angeles (during a one-year, wander-lust move). Back in the day, I would pay her with coffees to address envelopes here and there for me, and then later, hired her to provide calligraphy for our wedding! She is an incredibly talented artist and calligrapher, and with wedding season coming up, we're proud to introduce her to you, plus we'll vouch for her incredible workmanship!

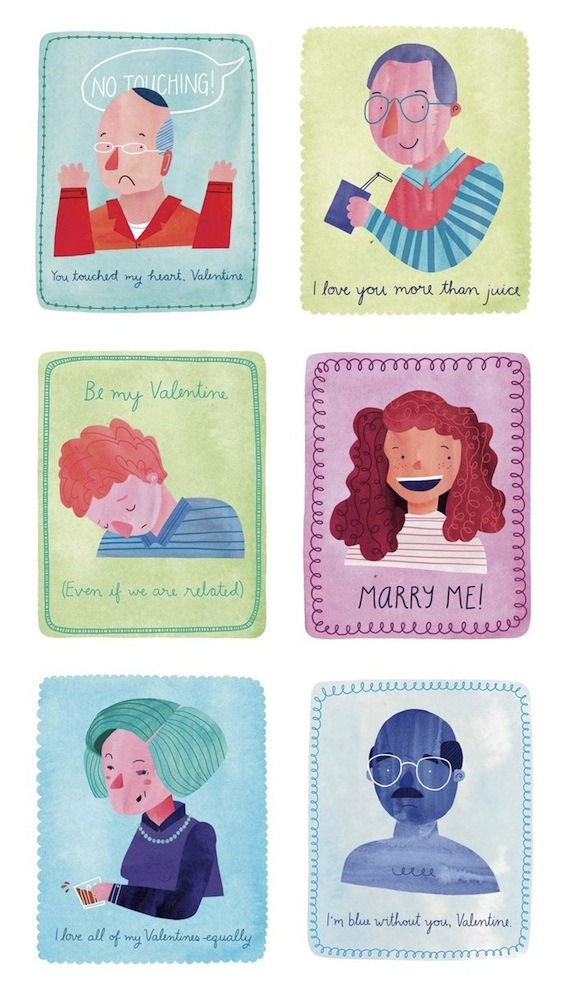
Photo courtesy of Kathryn Murray Calligraphy
When did you start doing calligraphy?
I started doing calligraphy about a year after I got married. I had tried my hand at it for my own wedding and struggled through the 100 invites. I am not entirely sure how it started, but people started asking me to calligraphy their envelopes and place cards, and the word spread. My true secret weapon is my very talented husband, who takes all of my photos and handles all of the web design. Without him and that help, I wouldn't have even gotten off the ground.
Is your background in art and design?
I always wanted to be an artist. In fact, as a child I envisioned college as the place where you could do as much art as you wanted and no one would limit you. In a way that was true, I was lucky enough to have that dream come to fruition and attend Parsons in NYC. I studied illustration, typography, and printmaking. I thought I would end up being more of a traditional illustrator, but things evolve and become more, and different than what I expected at 20.

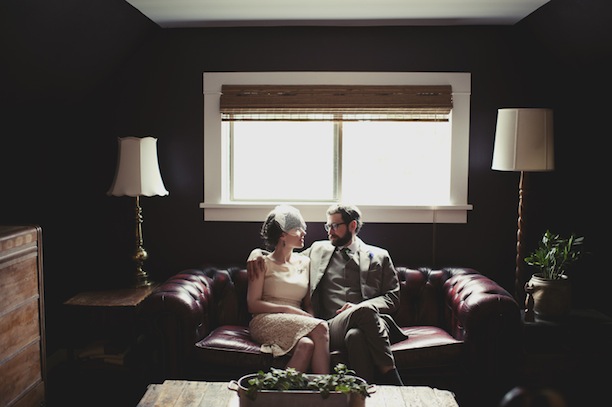
Photo by Jaquilyn Shumate Photography
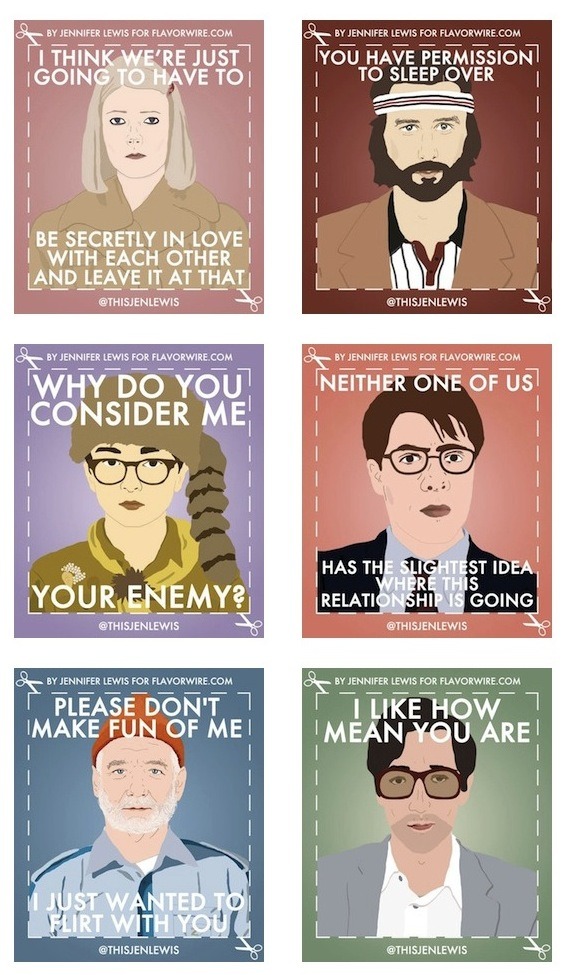
Photo courtesy of Kathryn Murray Calligraphy
Did you always want to have your own business?
Yes. I always wanted to have my own business and be more of a freelancer than an employee. I wasn't sure how I would do it, or what it would be exactly, but I knew I wanted to have my own business. I am an only child, which for me has meant that I am good at working on my own. It took several years to leave the "regular" job, but I am really happy to be here.
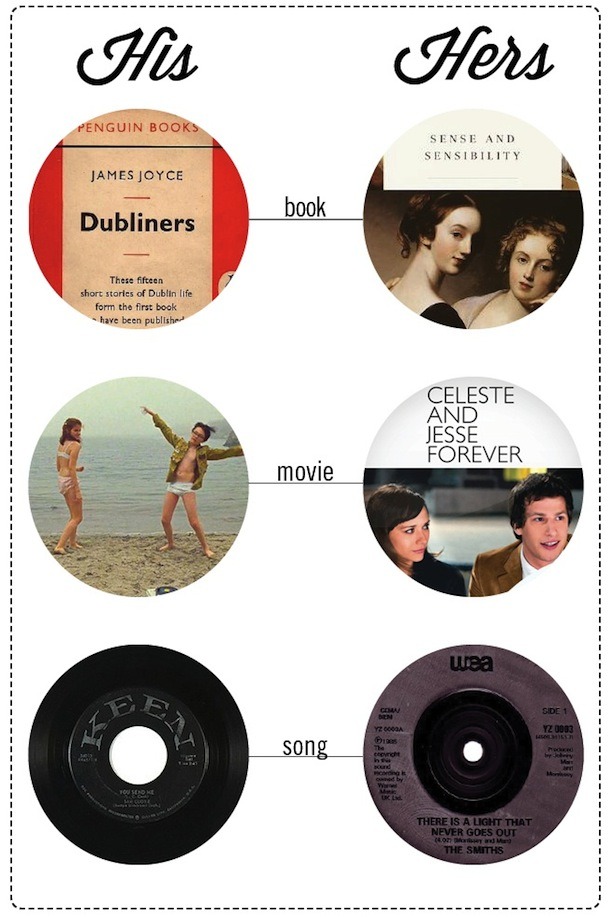
Photo courtesy of Kathryn Murray Calligraphy
What is it like to work for yourself?
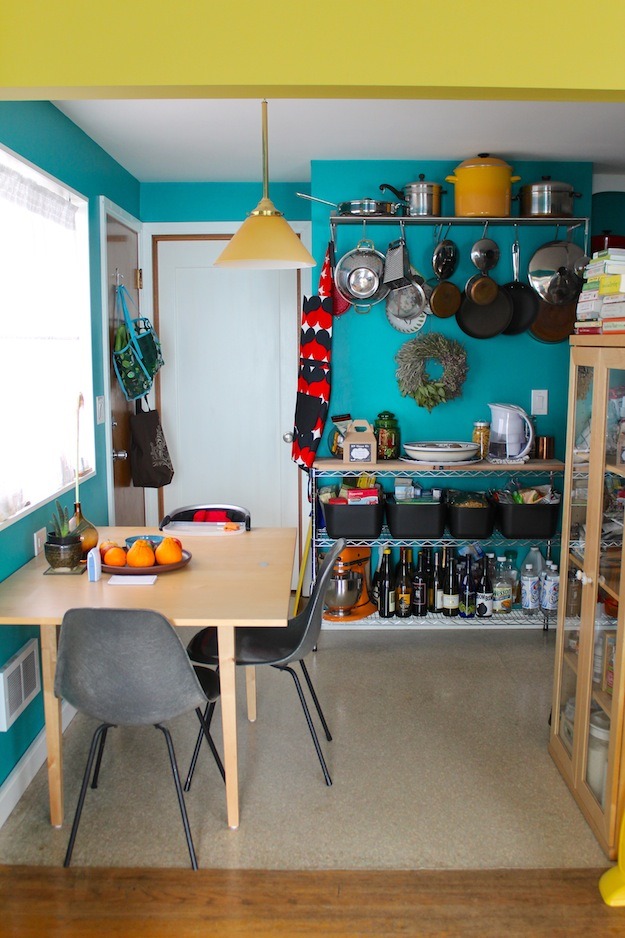
Most of the time I love it. It is quiet and I have the freedom to make my own schedule. It can be frustrating at times because you have to monitor yourself. This is not always easy if you get sucked in to
Pinterest or can't seem to focus. I actually prefer the "wedding season" when I am busier. It forces me to stay on task and run a tighter schedule. February is my slowest month, so this year I am re-doing my studio while I can.
Do you ever feel overwhelmed or stressed?
Of course there are times when I am overwhelmed and stressed. Sometimes I wish I could have someone else do my bookkeeping, or answer emails. One of the strangest and best things is that the internet is both my source of employment and source of frustration. It is a HUGE blessing that people like my work and trust me enough to be a part of their wedding, but I think they forget that I am a real person, not a machine and that if they don't tell me what they want, it is really hard to divine. This work is important to me and I want it to be as perfect and as beautiful as possible. I recently got a so-so review and it bummed me out for several days. The bride thought the ink I used was too pale. I wish she had contacted me and let correct it rather than post it on the internet. I think we all forget that there are real people on the other side of that email.
You gave a few quickie calligraphy lessons to some famous folks--we want details!
Probably the most famous one was Helena Bonham-Carter. I worked at a stationery store in Beverly Hills (with Andie!) and we had tons of celebrities come in on a regular basis. At some point I was scratching away, making signage for the store and the lovely Mme. Bonham-Carter asked if she could try my pen. I use what is called an oblique nib, and it is rather Burton-esque. I don't remember too much about it other than that she wrote her kids names, and that she looked like a beautiful rag doll in a Vivienne Westwood plaid skirt.

Editor's sidenote: Kathryn GAVE me the piece of paper Helena was working on! I've treasured it ever since, here it is!!
(The top "Mr. & Mrs." is Kathryn, the rest is Helena)
You've received a lot of press attention--which were you most excited about?
I love all of the print stuff but I was probably most excited when I had work on the
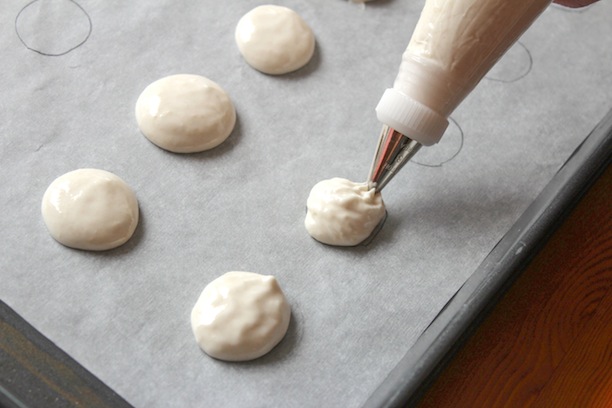
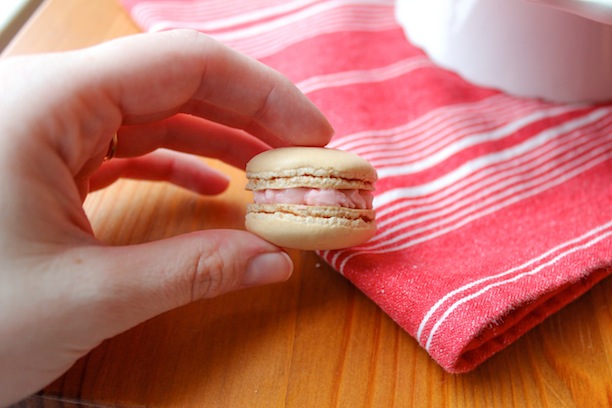
Martha Stewart Weddings Blog. I have partnered with a wonderful bakery here in LA,
Modern Bite, that makes these delicious shortbread cookies that can be adorned with calligraphy. I do the artwork, send it to them digitally and it gets printed on edible paper with edible ink. Not only do they look great, but they are SO delicious. We have been doing them for a few years for favors and place cards, but last year someone at MS Weddings blogged about them. It is definitely a dream to have work in the magazine someday too!

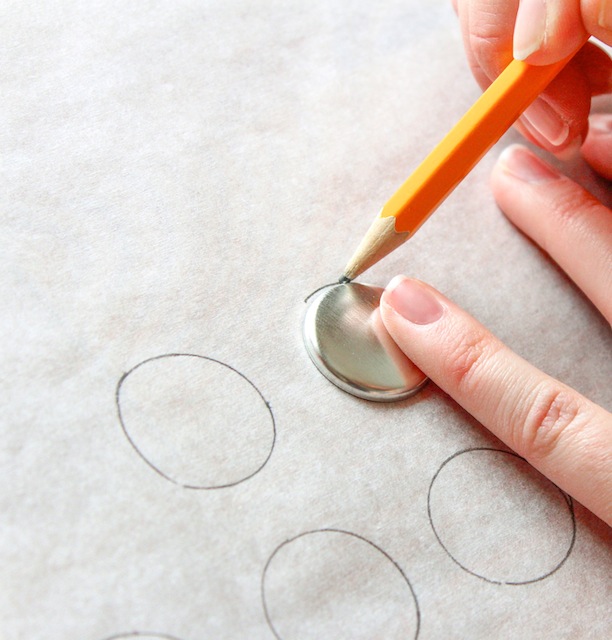
Photo courtesy of Kathryn Murray Calligraphy
Other than custom calligraphy, what other design components do you offer?
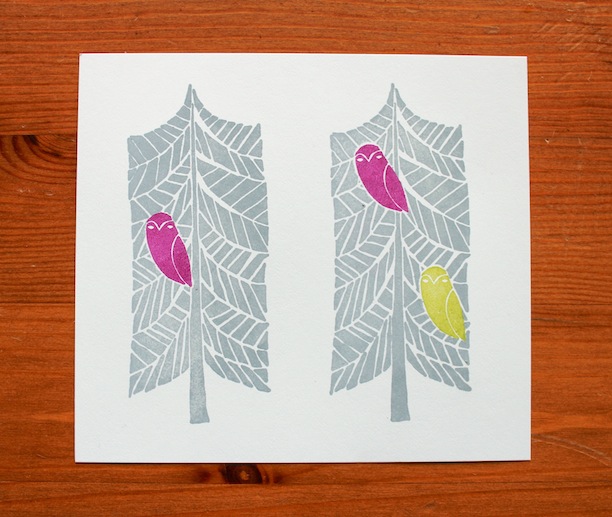
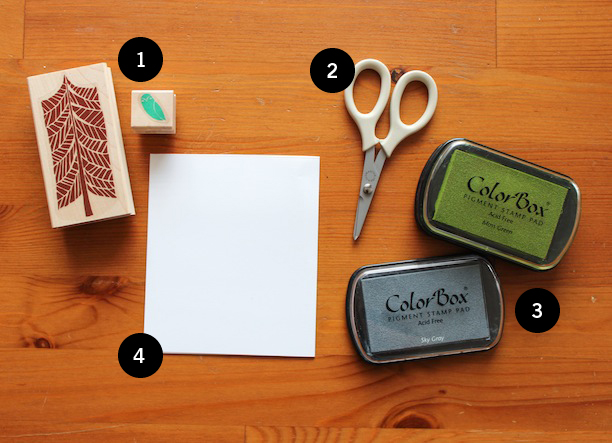
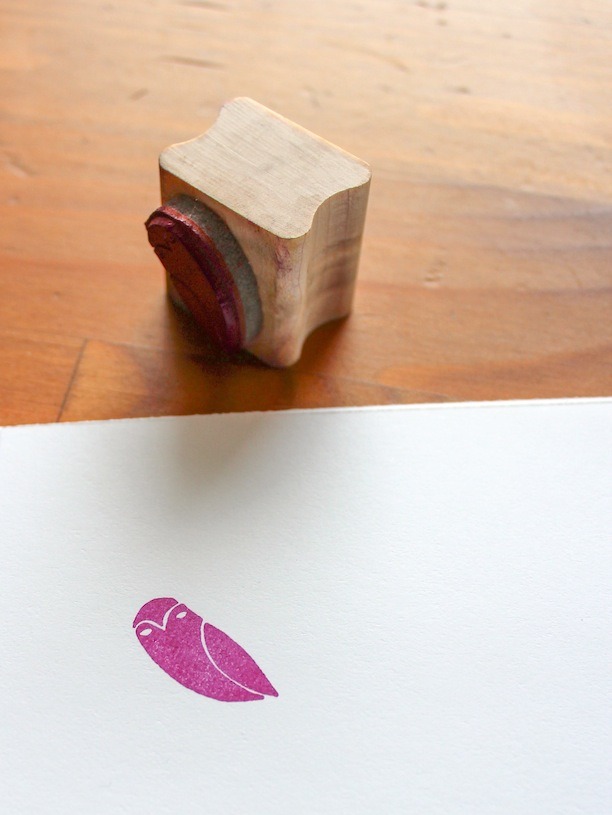
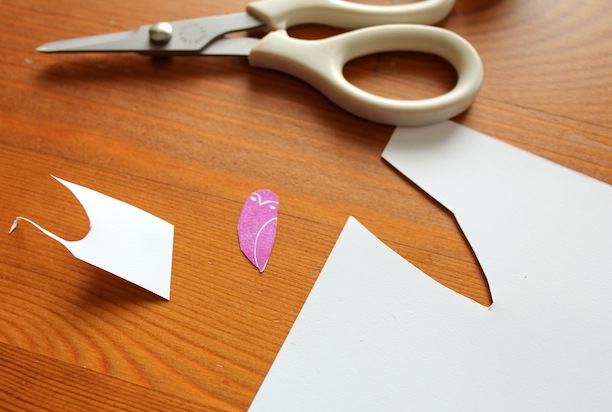
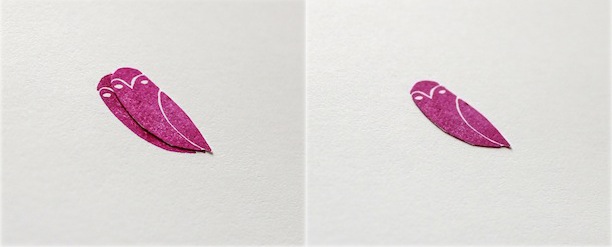
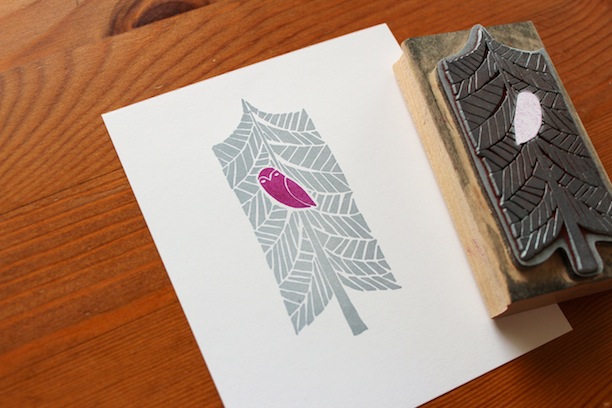
I do menus, invitations, signs, custom stamps, stationery, etc. You name it. One of my favorite things that I did last year was custom coasters and napkins for a wedding in Washington D.C. I do a ton of stamps as well. These are really fun to do and I think they look fantastic. People surprise me all the time with creative things they come up with. I had a bride last year use the stamp for coffee sleeves. And another took their monogram and projected it on the wall at the reception.

Photo courtesy of Kathryn Murray Calligraphy
What do you like to do in your off-time?
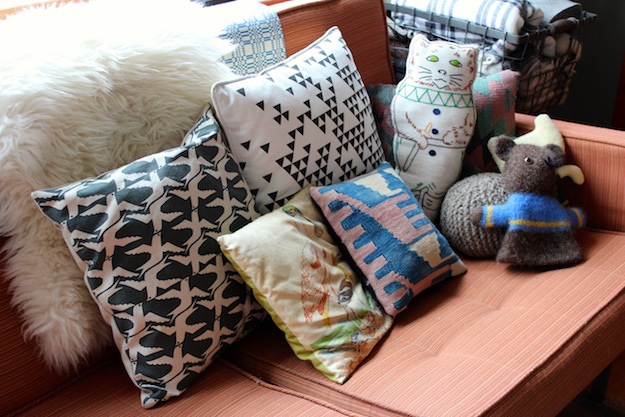
I am currently obsessed with needle-pointing. I spend hours researching, planning, reading and stitching. But this is not granny needlepoint, I am attempting a more modern take on an antiquated art. I am drawing all of my own designs since the pre-made ones are a bit of a bummer. It is a great activity to do if we are watching TV, or when we are doing my other favorite activity, traveling. We went to Italy for Christmas, and if you can believe it, I was a little (only a little) disappointed I didn't have more down time to needlepoint!
If you could live anywhere in the world, where would it be and why?
If it is a fantasy (and money is no object) then I would live in the South of France. Close enough to go to the beach if I wanted to, but far enough from the crowds to live a quiet life of wine and crusty bread. Then I would jet off to Italy on a whim, or pop over to London to go to Liberty. I am pretty happy in LA though, this was a hard one to answer. I am really in love with Hollywood (the actual place, not the celebrity/movie stuff), and have been for as long as I can remember.
If you could eat one meal for the rest of your life, what would it be?
Dirty Martini with olives to start, crusty bread with delicious spreads, charcuterie platter with meats, almonds, mustard and quince paste. Followed by a lovely glass of red wine and fruit.
What's your dream job, besides what you are doing now?
No question, textile design.
You get to organize a dinner party, who is there?
My sweet husband, Matt.
Simon Doonan, because I think he would be so interesting to talk to. Comedian,
Paul F. Tompkins, because he makes me laugh like no other. Christina Hendricks, because I secretly want to be her best friend. Our wonderful friends Josh & Rafi that own and run
FORM Interior Design just because I love them (and would need witnesses for this epic party), and Tricia Guild of
Designer's Guild because I secretly want to be her.
See more of Kathryn's work on
her website.
Thank you, Kathryn!!