


I'm a sucker for quirky ornaments on a tree, especially neon! I have a pre-lit, artificial, white tree, (due to the fact that I have a vacuum for a chihuahua and she would eat the fallen needles) which really showcases snazzy ornaments. So, I really had fun making these for friends, family--and a few for Assemble! Plus, they're super easy to make:
What you'll need:
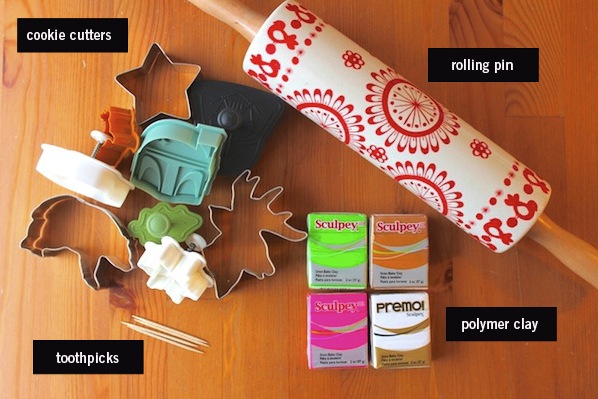
• Cookie cutters. My favorites are the crust punch-out cutters from Williams-Sonoma because they also make an impression on top of the clay (or dough, if you're using them for baking). I used a few of their seasonal ones, some Star Wars favorites and some good ole' woodland cookie cutters.
• A rolling pin. I've found that ceramic ones work best with this project, because the wood tends to soak up oils from the clay and stain.
• Polymer baking clay. I used Sculpey, but you can also use Fimo or any other type you find at a craft shop.
• Toothpicks.
Not pictured, but still needed:
• Parchment paper
• Cookie sheet
• An oven
• Double-sided tape
• Twine or string to hang on the tree!
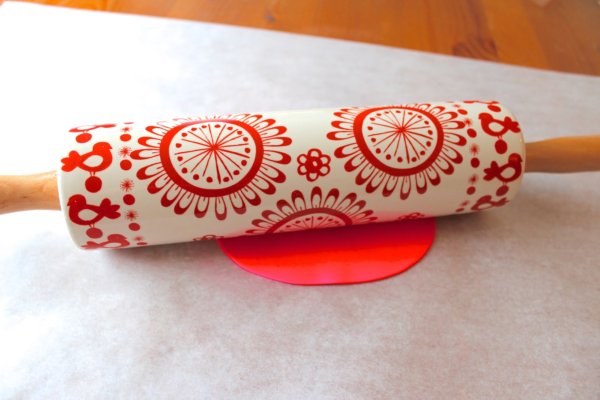
Unroll a piece of parchment paper as wide as your table and place double-sided tape under it, to keep it as stationary as possible. Tape doesn't hold parchment paper well, but this will help when rolling. Use a different sheet for each color. Roll the clay until it is roughly 1/8 of an inch. Try not to fold the clay over too much, as it will create air bubbles.

When the clay is completely flat and even, cut out your ornamanents gently! Then using your toothpick, poke a hole big enough to get your twine or string through. Make sure to make the hole in a place where the weight of the ornament will distribute evenly, and hence, hang straight.

Place them on a non-stick cookie sheet (use another sheet of parchment if you would like), and bake them according to the clay's instructions. I baked mine at 275ºF for about 20 minutes.

